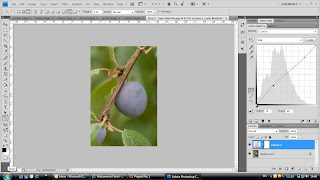
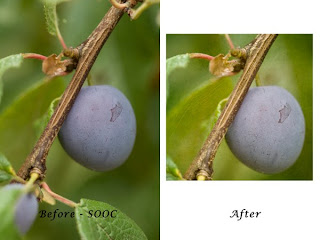
 I wanted to share with you how I apply texture and show you some editing tools that I use in both ACR and CS4.
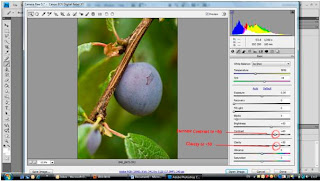 Ok so I've taken my picture in Raw format, uploaded it up on the PC and opened it in ACR. Normally the first thing I do is adjust the contrast and clarity. Here I've set the contrast to +60 and the clarity to +50.
Click on Open Image to open it in CS4.
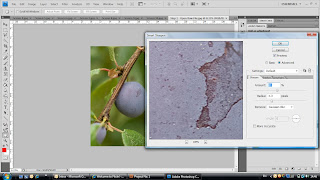 Go to Filter, Sharpen, Smart Sharpen. Here I've sharpened by 81%, using a Radius of 3.3 pixels and removing the Gaussian Blur.
 Click on ok.
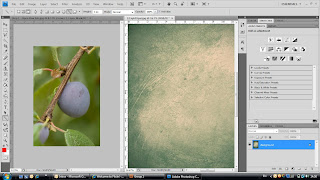 Adding Texture - Open up your texture file. Make sure that you can see both files at the same time by using the split screen (arrange documents icon at top of screen).
Click on the texture screen and drag the little thumbnail background layer across to the main image file (see next step for example)
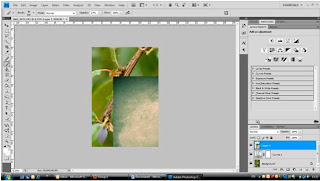 In the main image file press CTRL-T (or Edit, Free Transform). This will enable you to move and resize the Texture file to fit over your main image. (see next step for example)
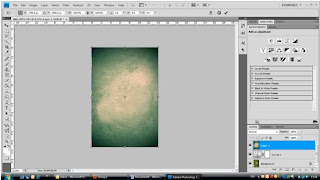 So this is how things should look at this stage. The next thing we want to do is soften the texture so we can see the image behind it.
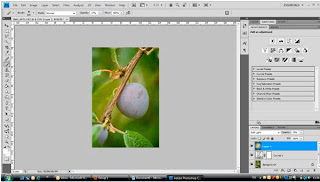 In the Layers panel I've changed the layer option to soft light @ and opacity of 75%. You can use any option here.
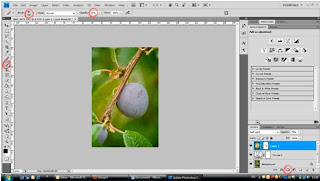 As I wanted the plum to show through just a little bit more I clicked on the add vector mask icon at the bottom of the layers panel. Think of it as a halloween mask that doesn't have any holes for mouth, nose and eyes yet.
Next, using the brush tool, size 432 @ and opacity of 37%, draw over the plum. This erases the texture very subtly so as not to make it too obvious.
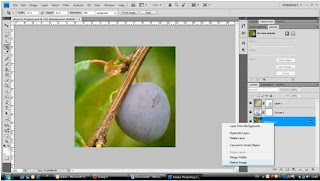 I then added a square crop. Click on the crop icon on the right hand side. Change the width and height to 12in x 12in with a resolution of 300 pixels/inch. Click and drag to the size you want and when you are happy click the check mark to apply the crop.
Last but not least flatten the layers so you can save as a jpeg. Job done!!

